| CS184: Niels Joubert |
'to make, little by little, the faulty good, the good better, and the better perfect.'
| Negative Space Follows... |
Assignment 4This assignment builds a fully functional ray tracer. Pretty sweet? yea, i know.Go to the bottom of the doc to see what I turned in.
First Steps - Writing images!Since we need to output pretty things, we need o be able to write pixels to disk somehow. I'm going to go with writing BMP files, since the format is very straightforward. I opted to roll my own code to do this, rather than mess with libraries. This keeps my executable size small, makes linking easy, teaches me more about image format, and frankly only takes about 20 lines. I coded up the basic procedure to write out the headers and pixel data, which i'm storing internally in a dynamically allocated array. Here is my first Blank Screen of Death:  Yes, it is a little blank box. Wee! This is a crucial piece of code to get right, so i generated a couple of test images to make sure it works nicely. I iterated over all the pixels in the image, alternatively moving from 0 to 255 color values along the x and y values, alternating between red, green and blue. The output was exactly what I expected it to be, so at least this part works!  
File IO, Scene and Film classes, Debugging frameworkI decided to implement many of the less "glamorous" features before moving on to outputting fancy graphics. I designed my raytracer as a whole (documented in the README file I will post further down) and implemented .OBJ file parsing (which I slightly extended to support my definition of spheres and lights), argument parsing, Scene generation (which consists of an eye, viewport, lights and primitives), Sampling the viewport and aggregating these samples into a film, which sets output to my image library. This took quite a while, as you can imagine, and I wrote unit tests and significant debugging hooks. I implemented 5 levels of debugging printout, as well as error and info output, which logs a timestamp, function, file and line number. I tested as I implemented to ensure my code works as I expect it to. Finally I could parse full OBJ files (see the teapot.obj posted under examples), create all the necessary memory structures, and set it up ready for raytracing.Hitting spheresSo far, I had no cool output to show yet, thus I started working on ray intersection code around 2am today. It didn't take long to get basic sphere intersection going, and here's the fruits of my labors. As you can see, I can already instantiate multiple copies of a sphere, and move my camera perspective around in all kinds of cool ways:

After getting a good framework in place, I was ready to hammer out the core part of the raytracer itself - intersection testing and ray casting. My ray casting procedure itself was fairly easy, since I could recycle all my shading code from the previous assignment, and I already had routines to calculate vector reflections and sphere normals. I used this to create shadow rays by casting a ray to each light, and have that affect the shading calculation. Reflections is done by calculating a reflection vector around the normal of the surface, and recursively calling my raytracing procedure on this new ray. Shading!Ambient Shading was the first to be implemented and thoroughly tested, since this proved that my raytracing and intersection tests were working just fine: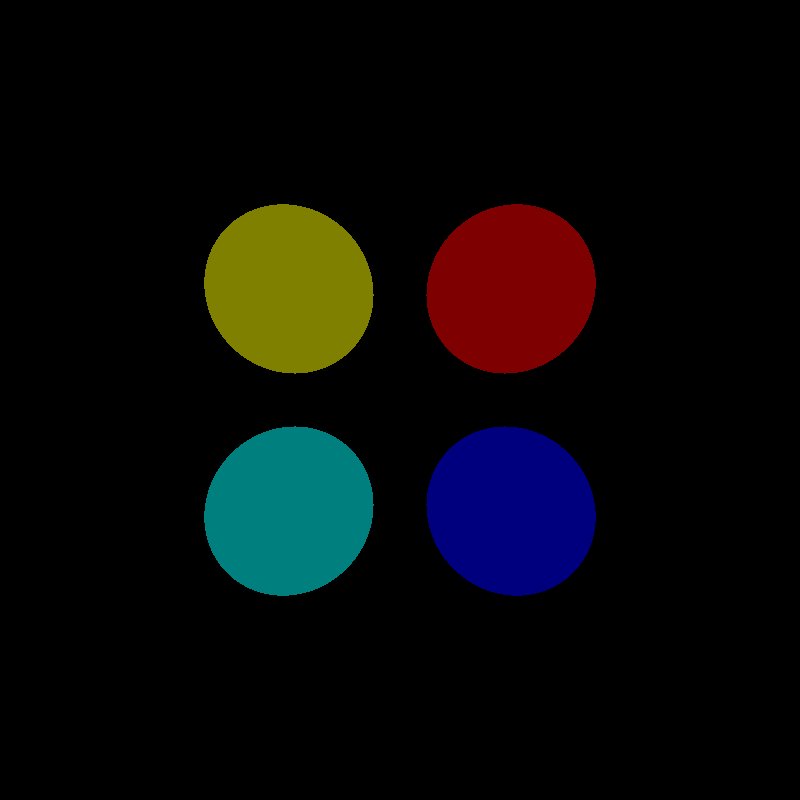
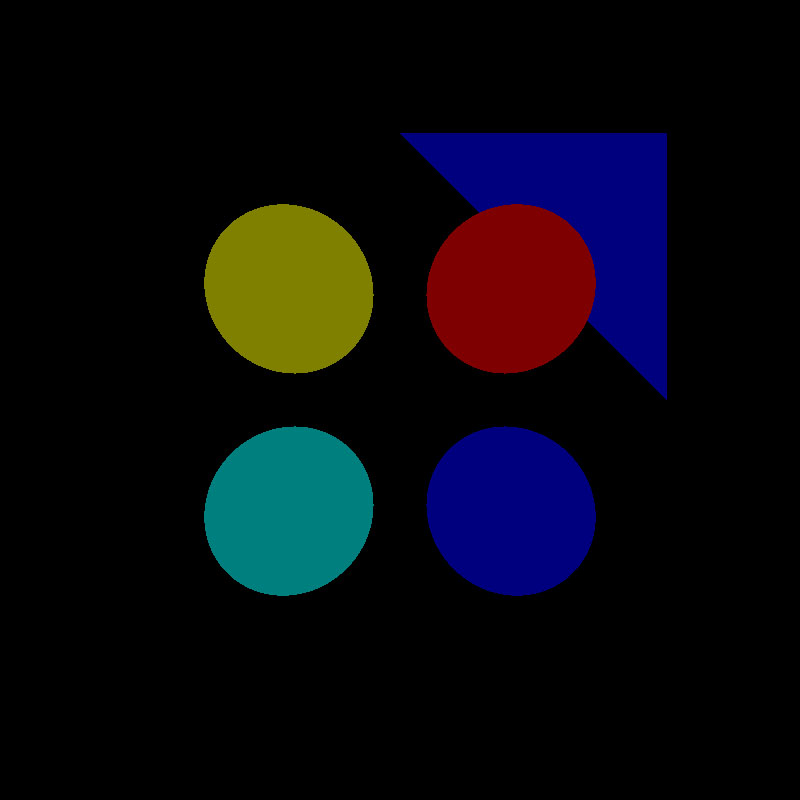
I realized that I had a bug in finding the intersection point that did not guarantee the correct order along the ray, so after a slight modification I could draw overlapping spheres: 
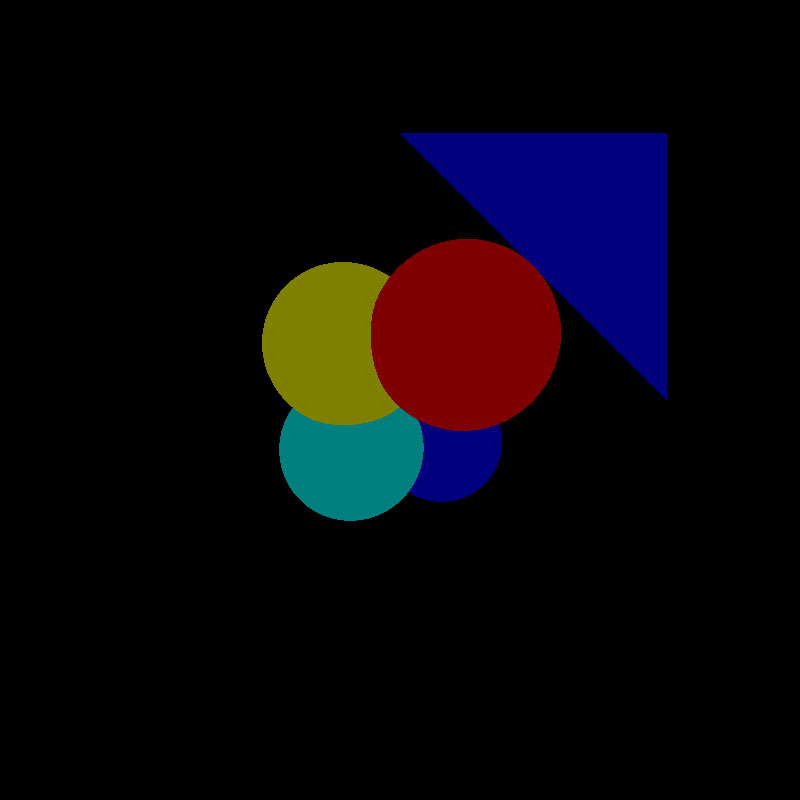
I made the necessary modifications for my shading code from the previous assignment to work with the rays I have available: 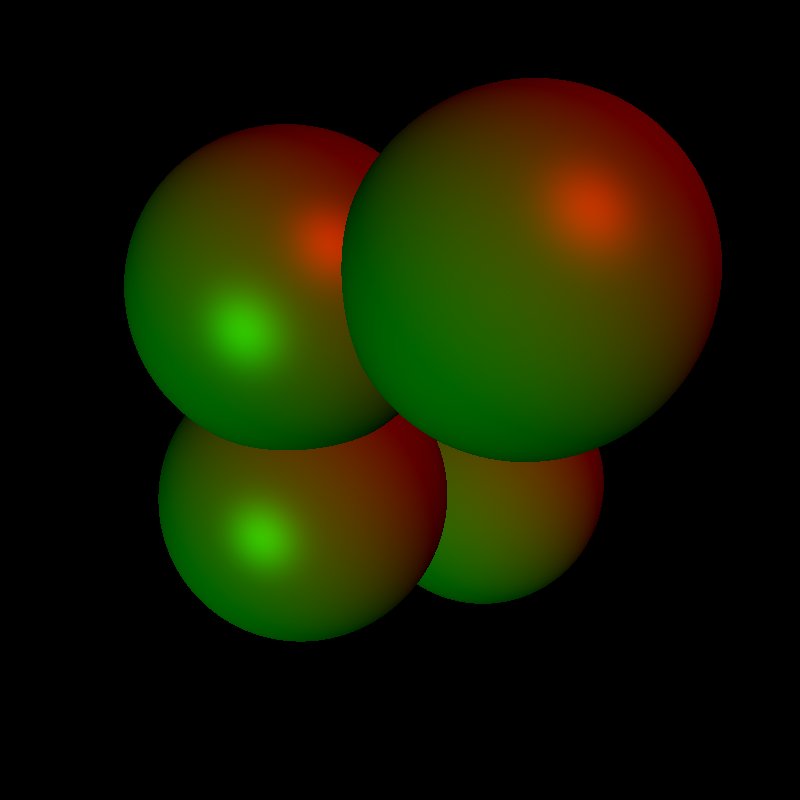
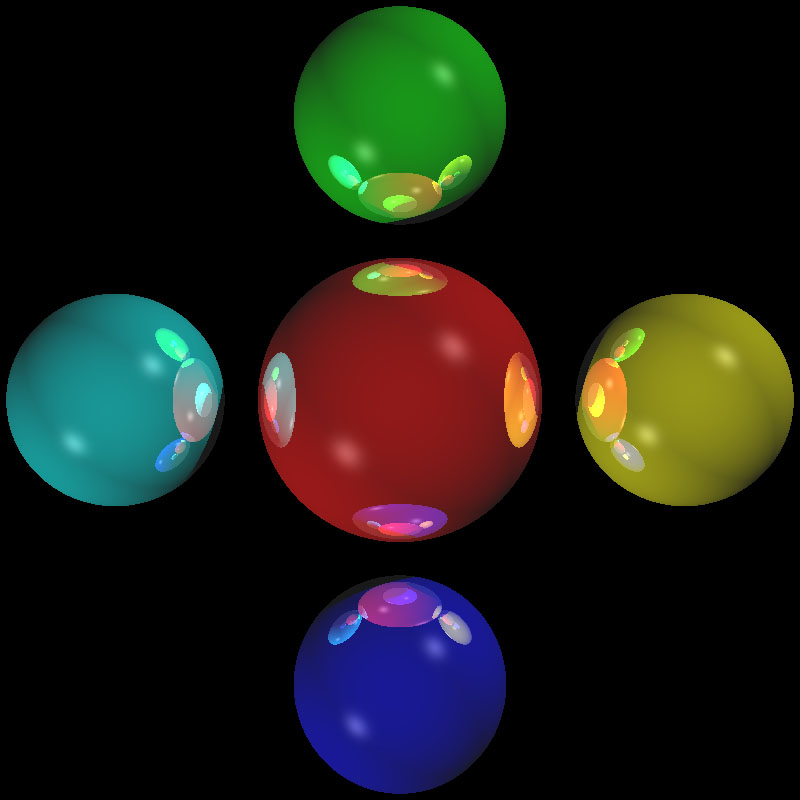
Reflections and Shadows! Easy as Pi!Two more modifications - one to cast rays to the light and check for an occluder, and one to recursively shade reflection rays. I'm extremely excited at this point:
I wrote a little ruby script to generate environments for me, and here's a nice image with 6x6x3 cube of spheres, all reflecting off each other (click to enlarge): 
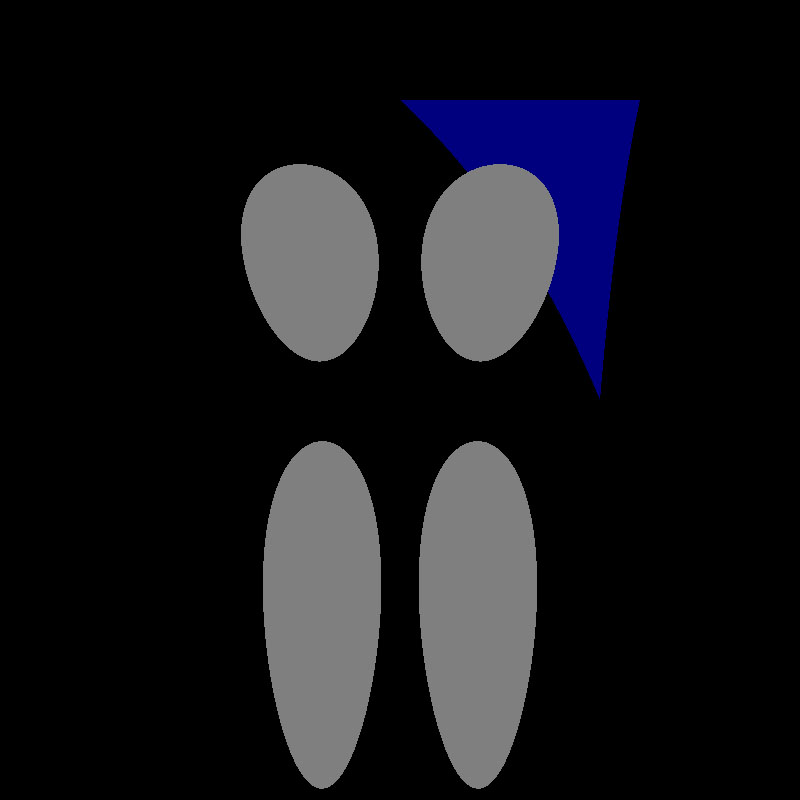
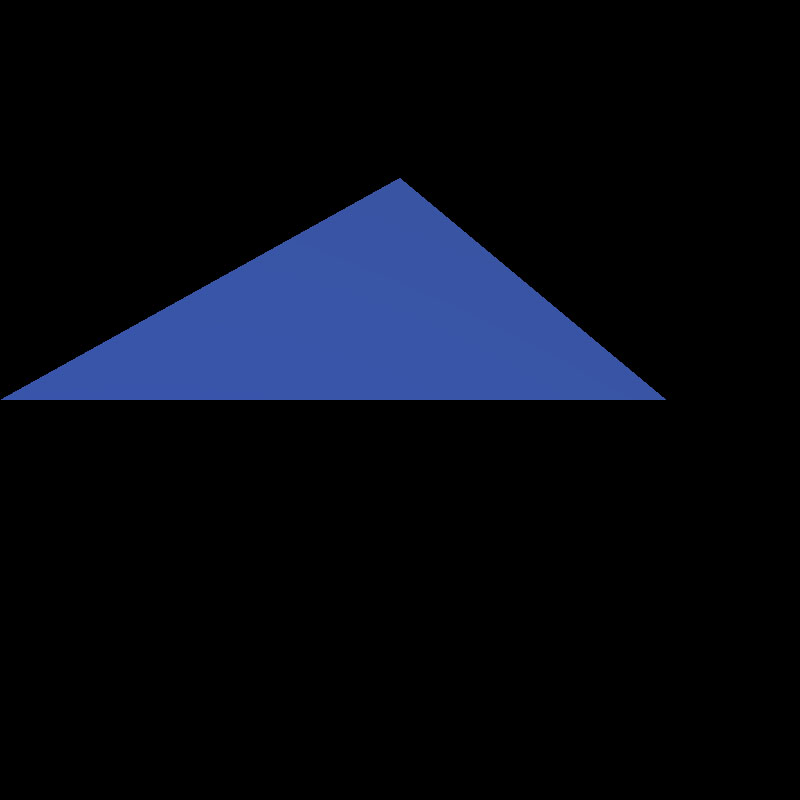
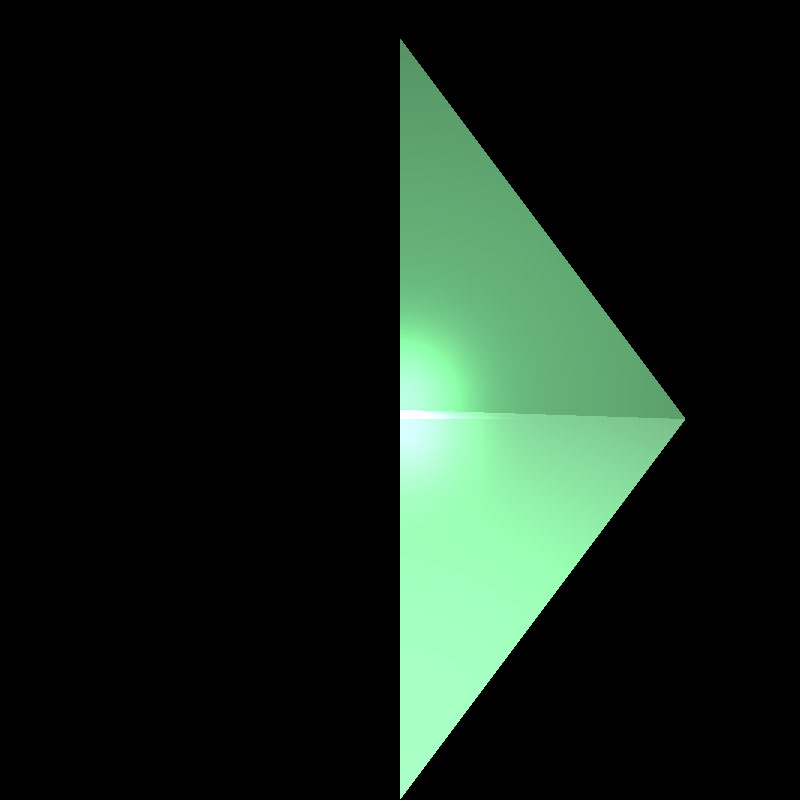
TrianglesI also managed to get my first triangle intersection code working. The normals aren't calculated correctly yet, thus you only see the ambient color term, but the intersection tests work!
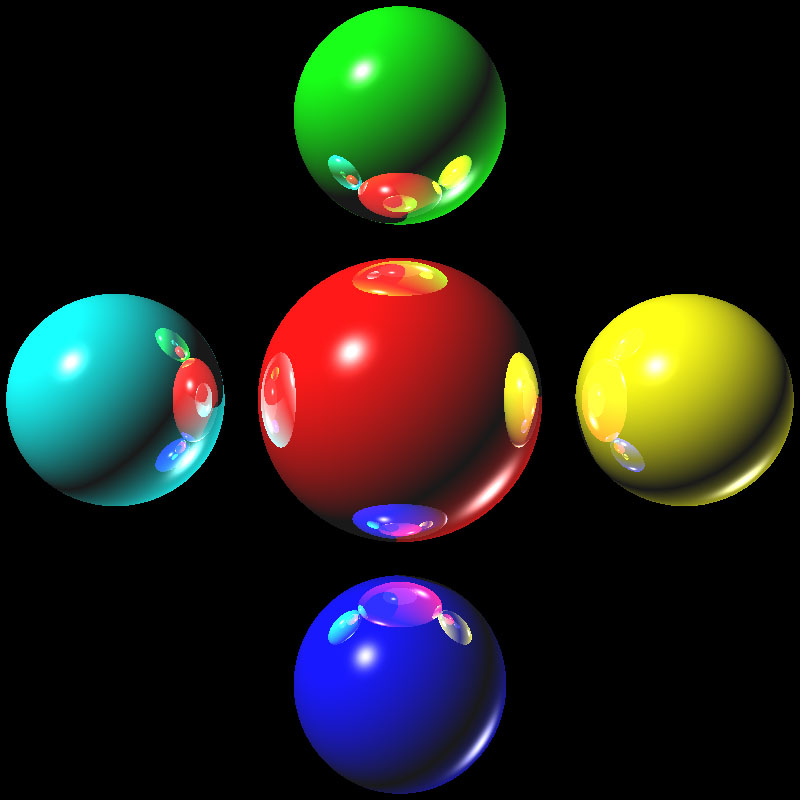
I started having a lot of strange images when I tried doing more than 1 reflection, and after a long night of struggling my buddy Navin finally pointed out that my rays are intersecting with the object they are reflecting off, since I didn't add a reflection bias to the ray. This ended up being an easy fix, and I started doing some pretty cool reflections. Here's some more eye candy: 
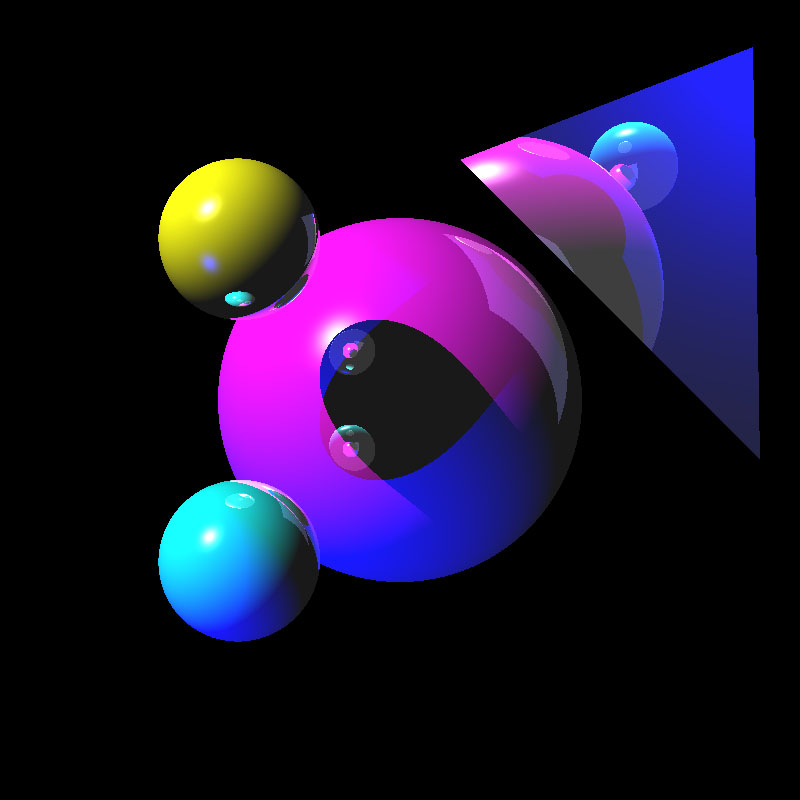
Let's add some reflections! It gets crazy since I'm clipping colors: 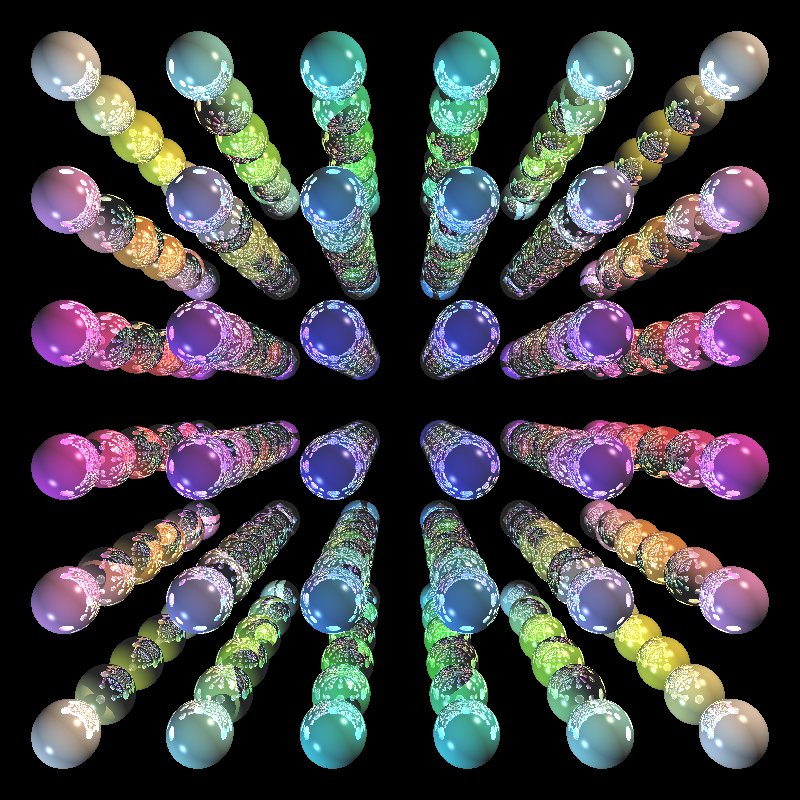
My triangle code doesn't seem to play too nicely yet... what's going on?! 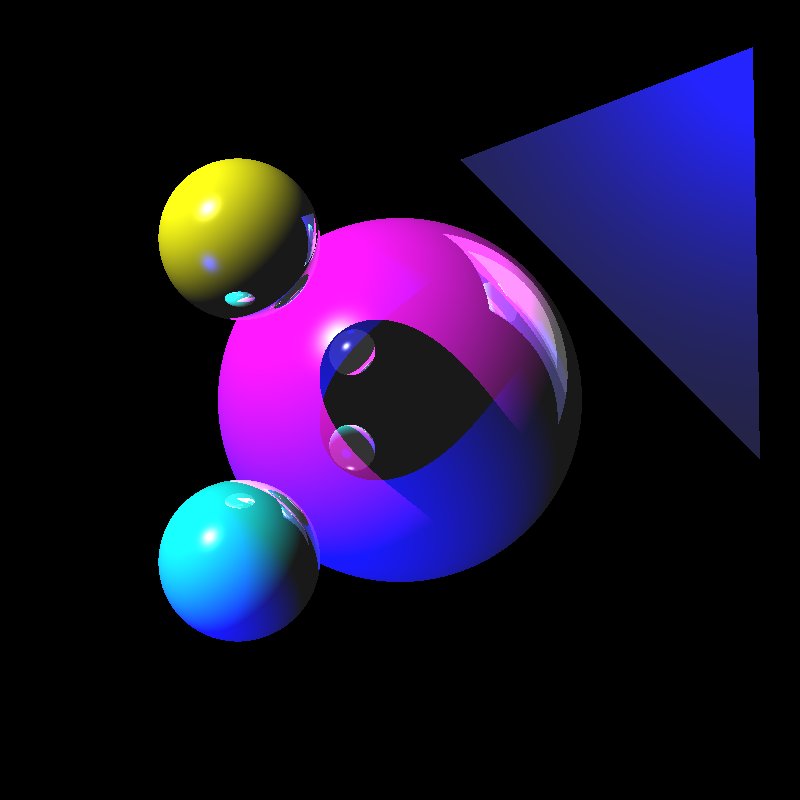
But my spheres make pretty reflections! 
I've been having a lot of issues with triangles, and finally found that I was not calculating the ray parameter correctly. After fixing the numerical issues, I could finally draw some pretty pictures! 
Fun with elaborate scenes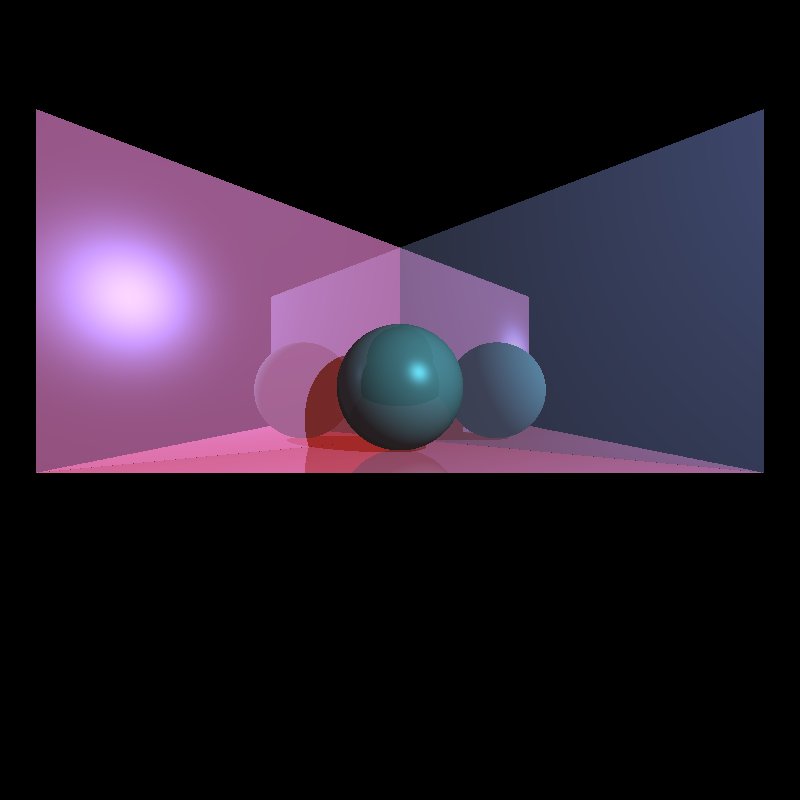
And I could finally render that damn teapot!!!!! Notice how I only do flat shading at the moment. I'll attempt to interpolate normals soon enough... 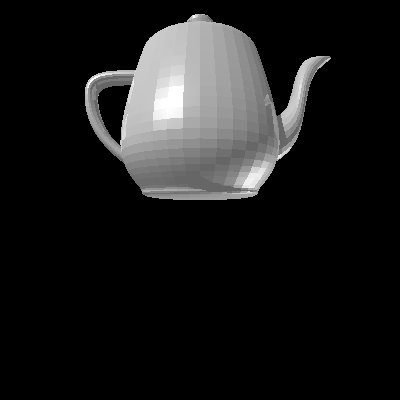
Things are looking SWEEEET!!!!! Click for a 1600x1600 rendering. This scene includes a pointlight shining in from the left and a directional light from up top. I use multiple spheres, triangles, 5 levels of reflection and a variety of color and shading settings. 
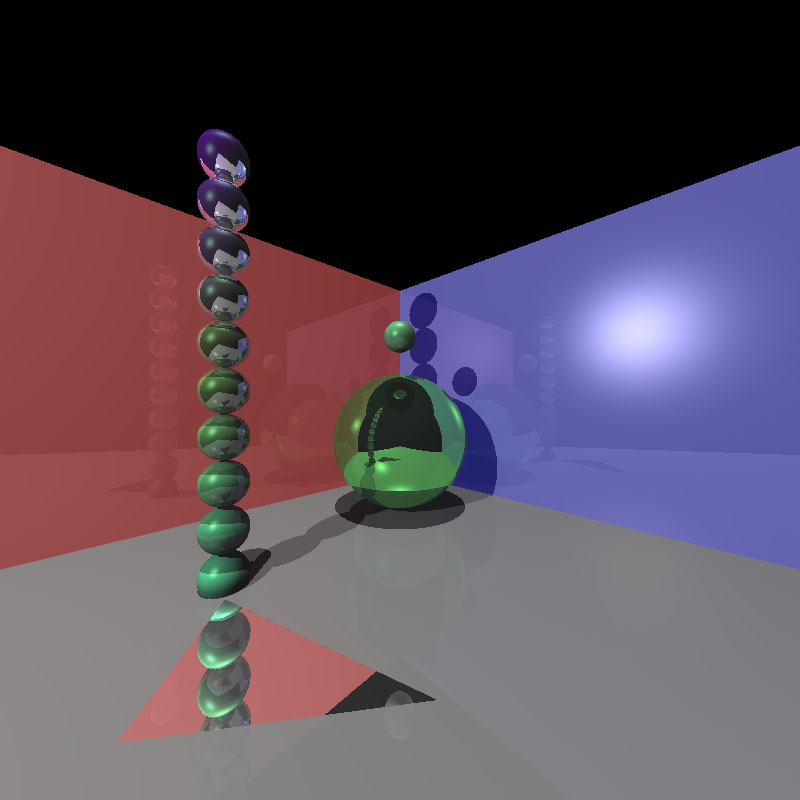
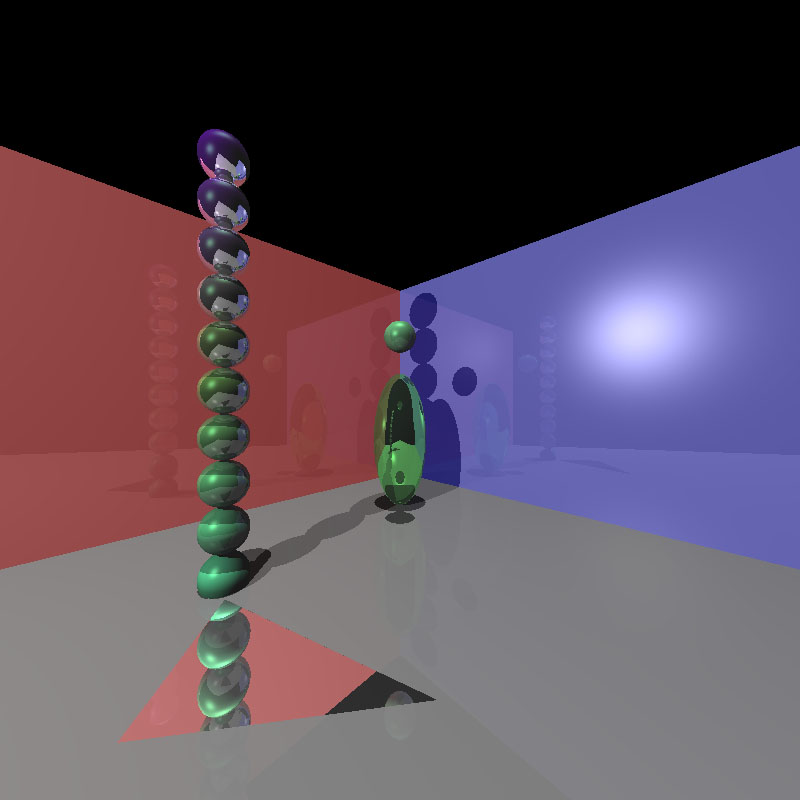
Adding Transforms - For Ellipsoids!It was actually very simple to implement ellipsoids from here. Ellipsoids are just unit spheres with a scale and/or rotation applied to them. I opted that the user supply us with scale and rotation parameters, and I built two matrices for each ellipsoid to store these two values. You can multiply them together, but its actually easier and faster to apply them if you don't use all that linear algebra routines you wrote and just keep them separate! For the intersection test, you inversely transform the given ray to enter the ellipsoid's object space. This allows us to test for an intersection using the good old sphere intersection code I wrote, what, 4 days ago? To calculate the normals you simply transform the given intersection point from world to object coordinates and run the sphere's normal calculation code once more! Pretty neat'o. Here's the same scene as above, but with a highly reflective ellipsoid now in the center:
What I turned inSince a cool site isn't all we get for grades, here's my submission package:
|


Main | Resume | Links | Assignments | Blog
All Right Reserved © 2006 by bprizze
http://heartlessg.4uhost.info Web Master